Step by Step: Golden Swirl Christmas Trees
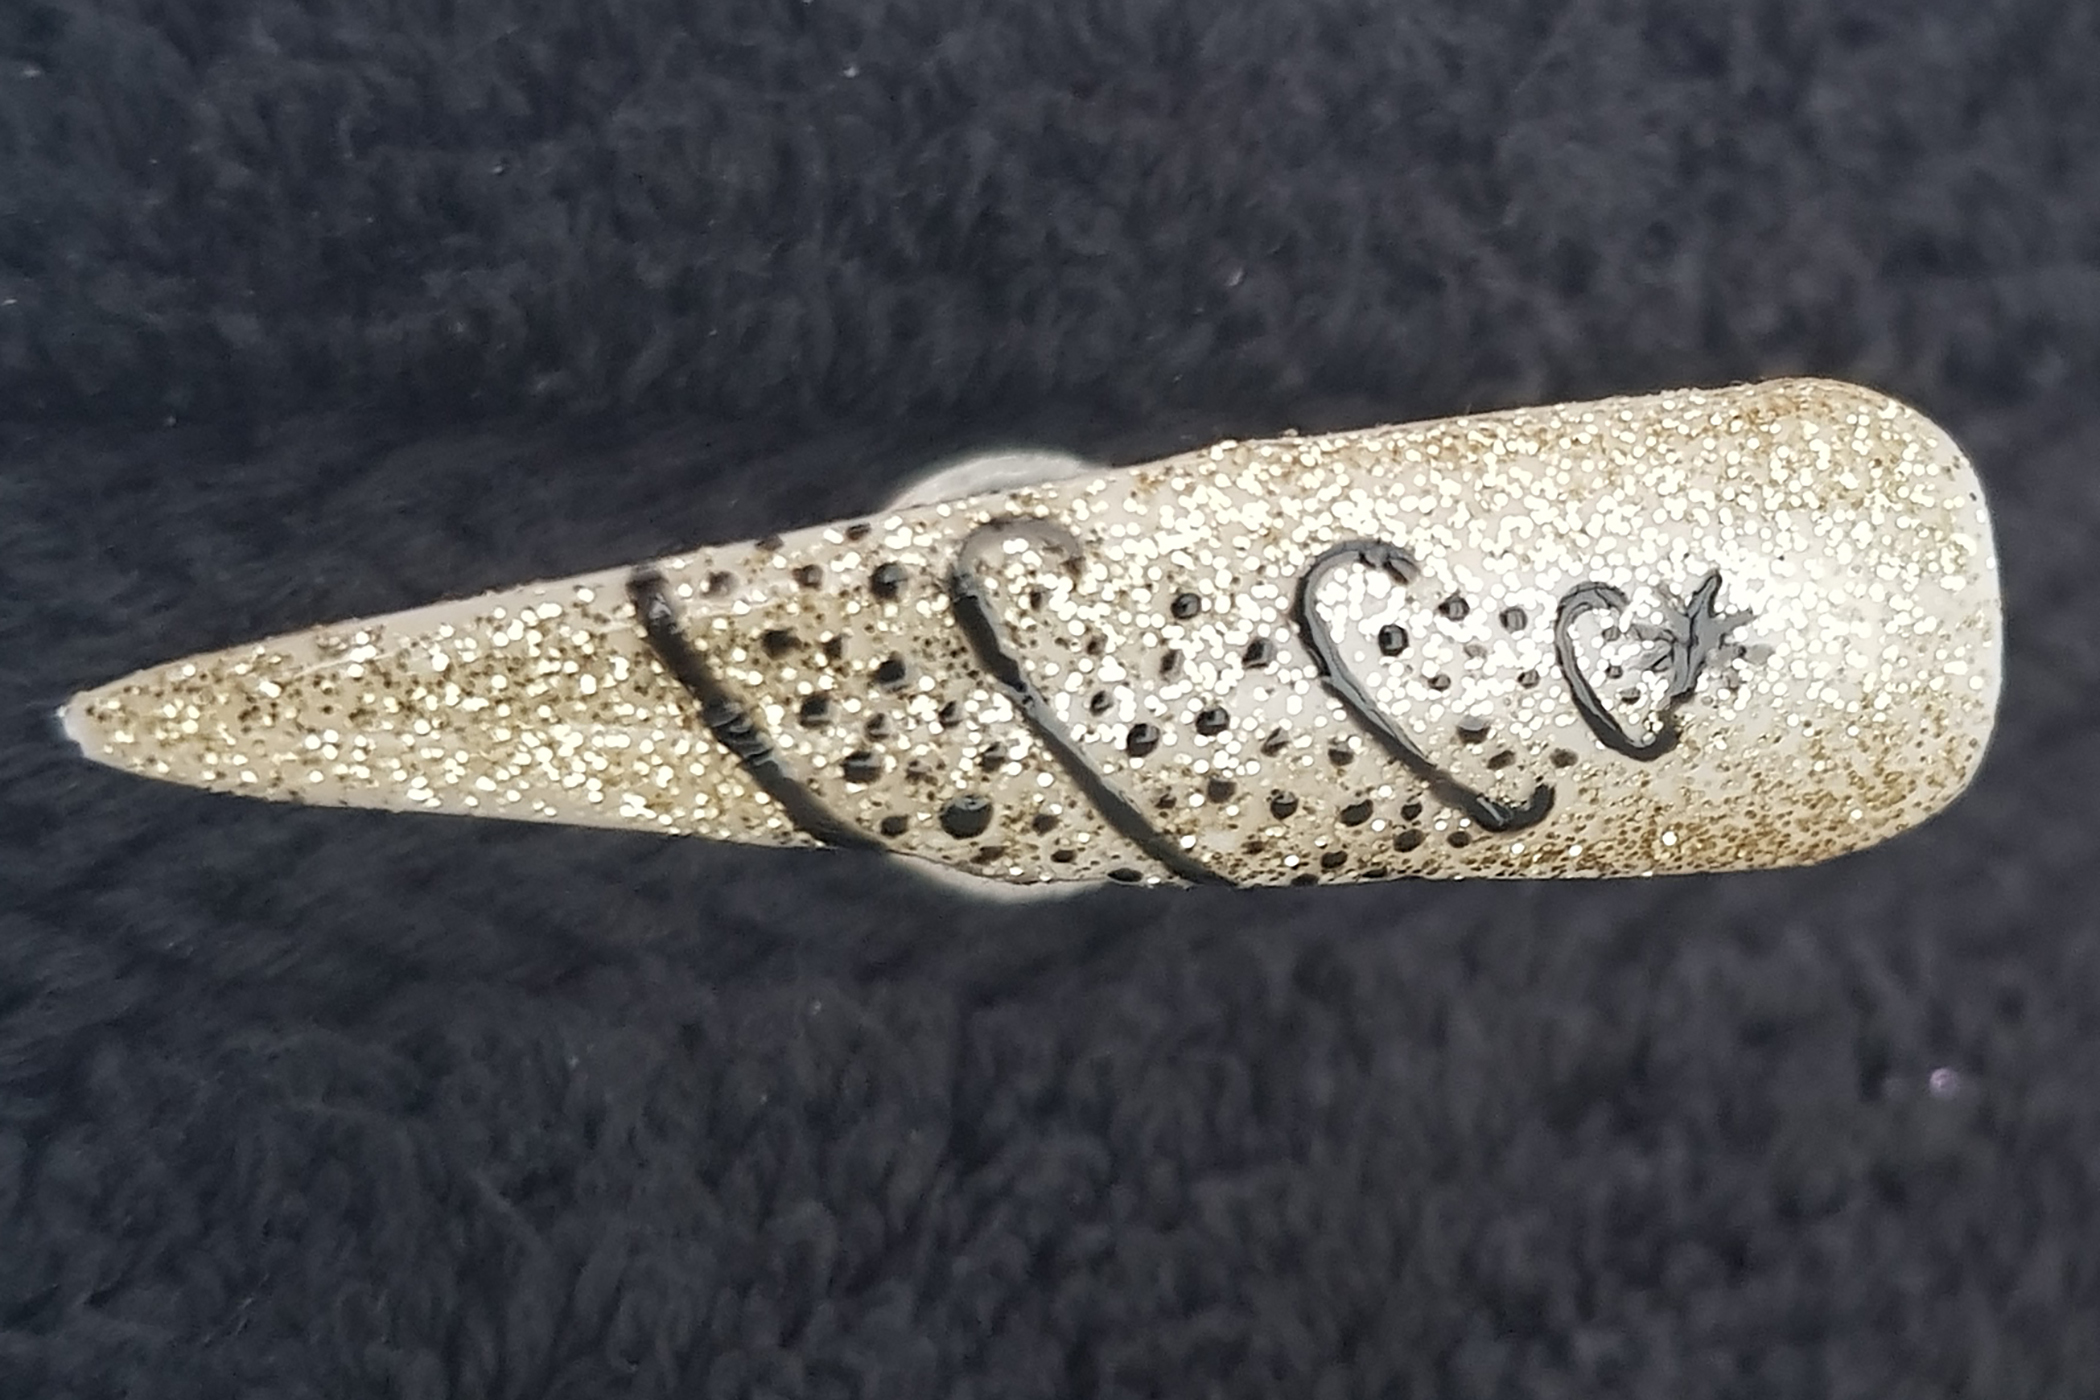
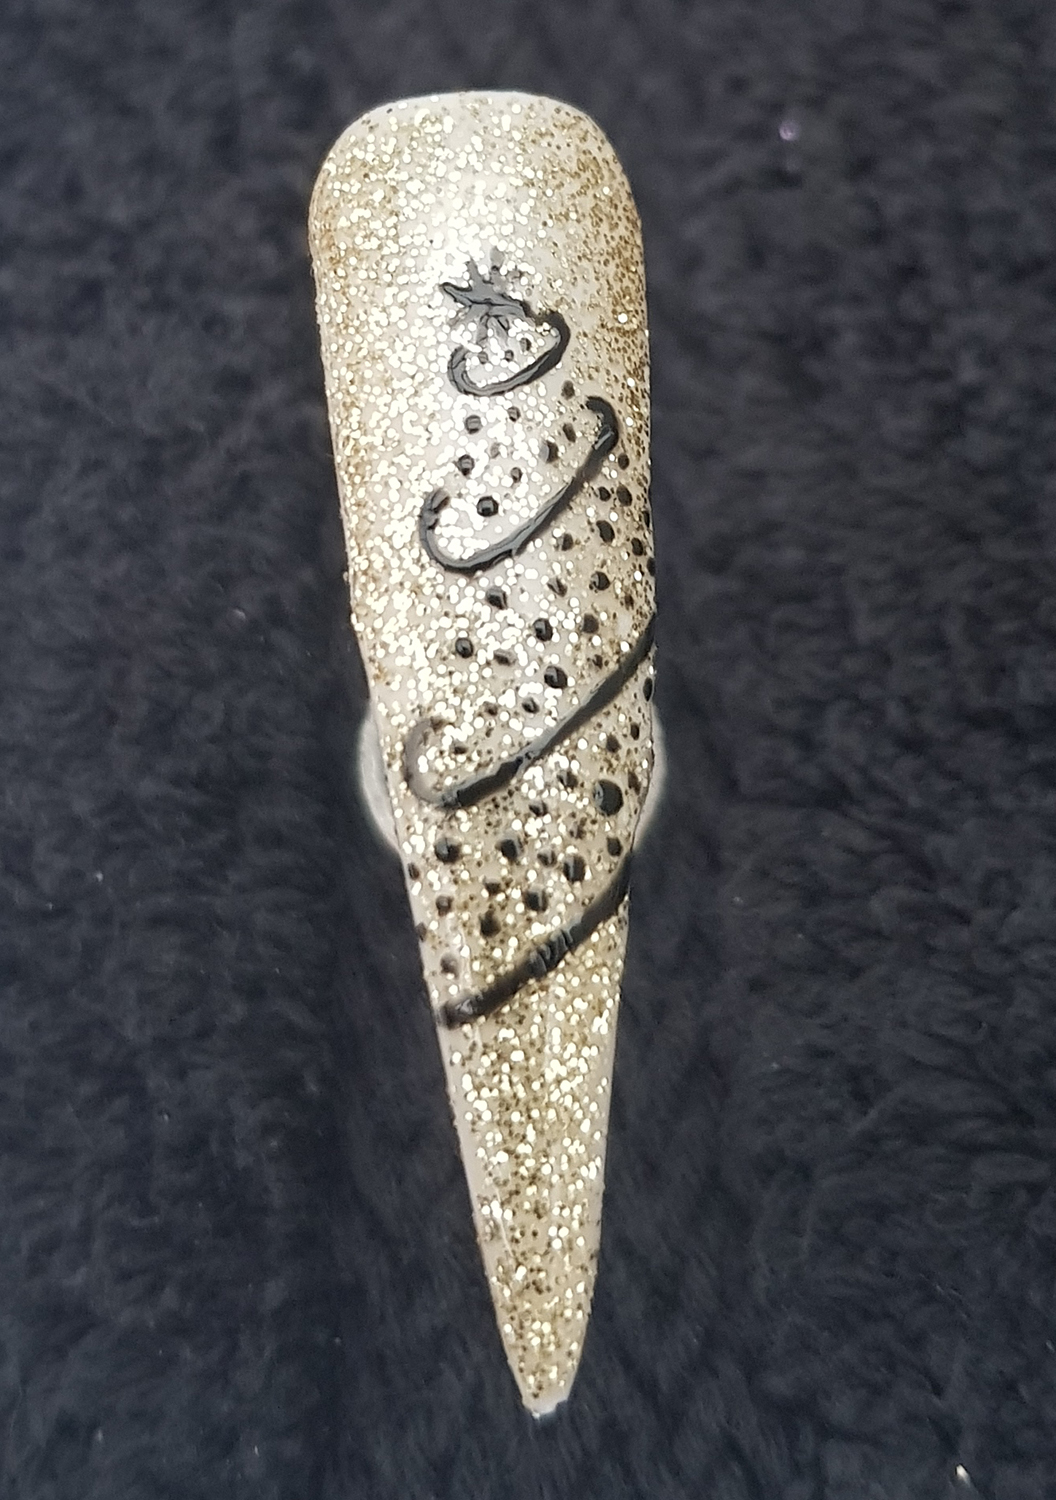
Session nail tech, salon owner and educator, Marie-Louise Coster, shares her golden Christmas Tree swirl nail art. Follow her ‘how to' step by step to easily recreate the design for your clients ahead of Christmas.
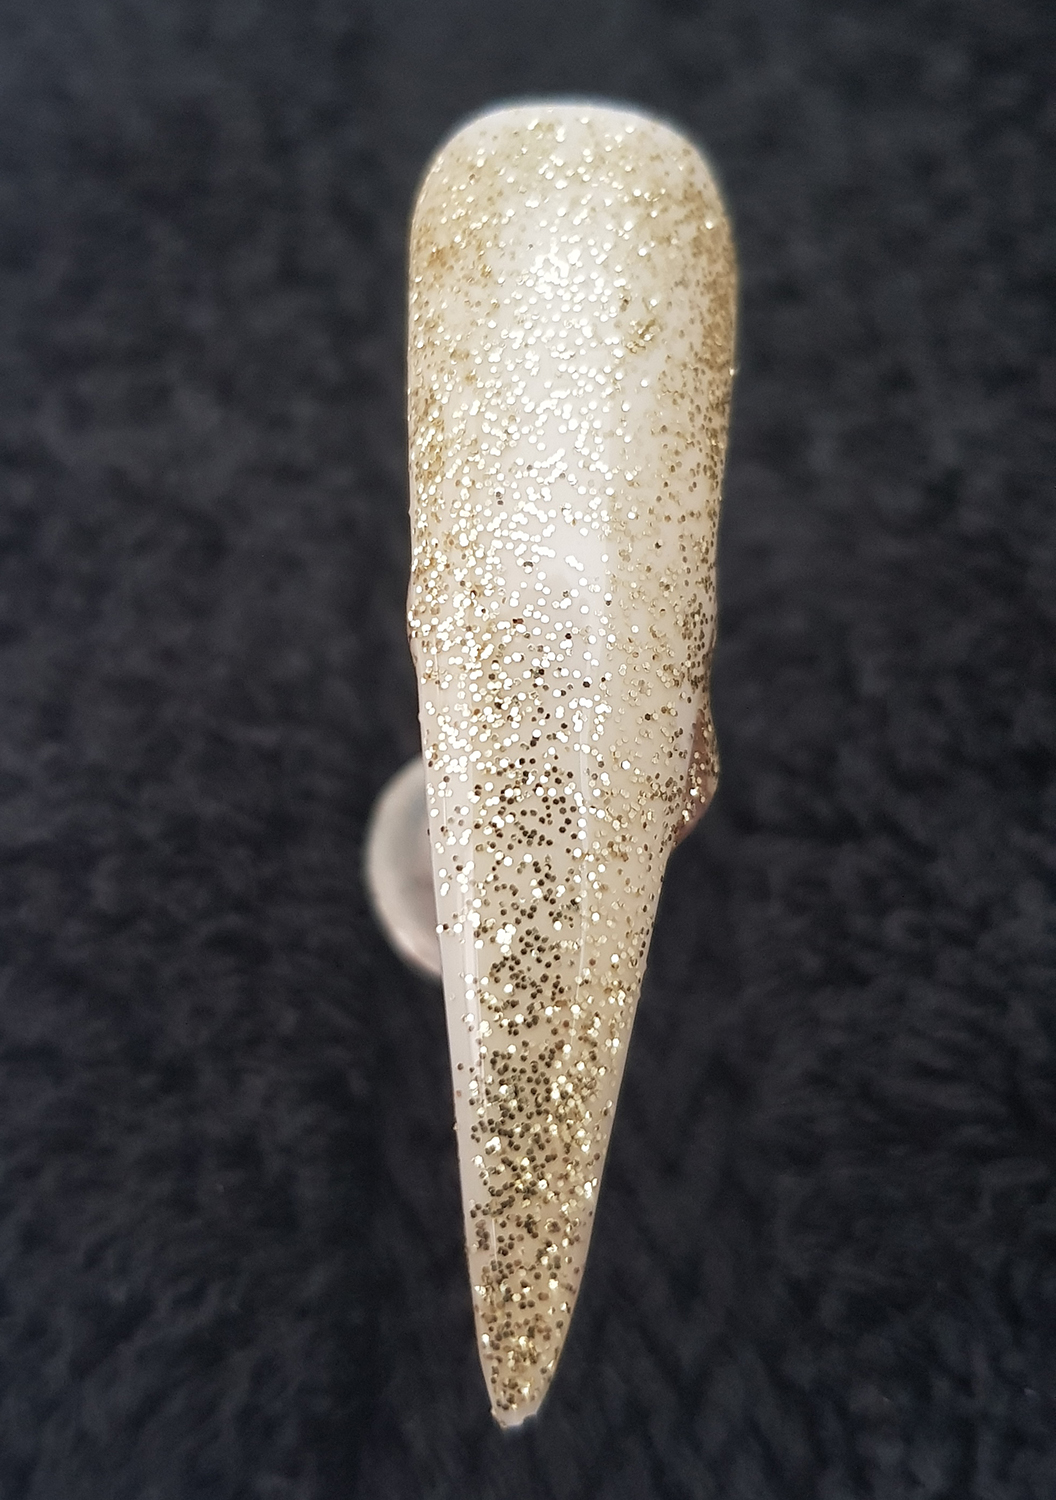 Step 1
Apply a Gel Base Coat, cure, and follow with two coats of Artistic Nail Design in Yank My Gold Chain, and cure each layer.
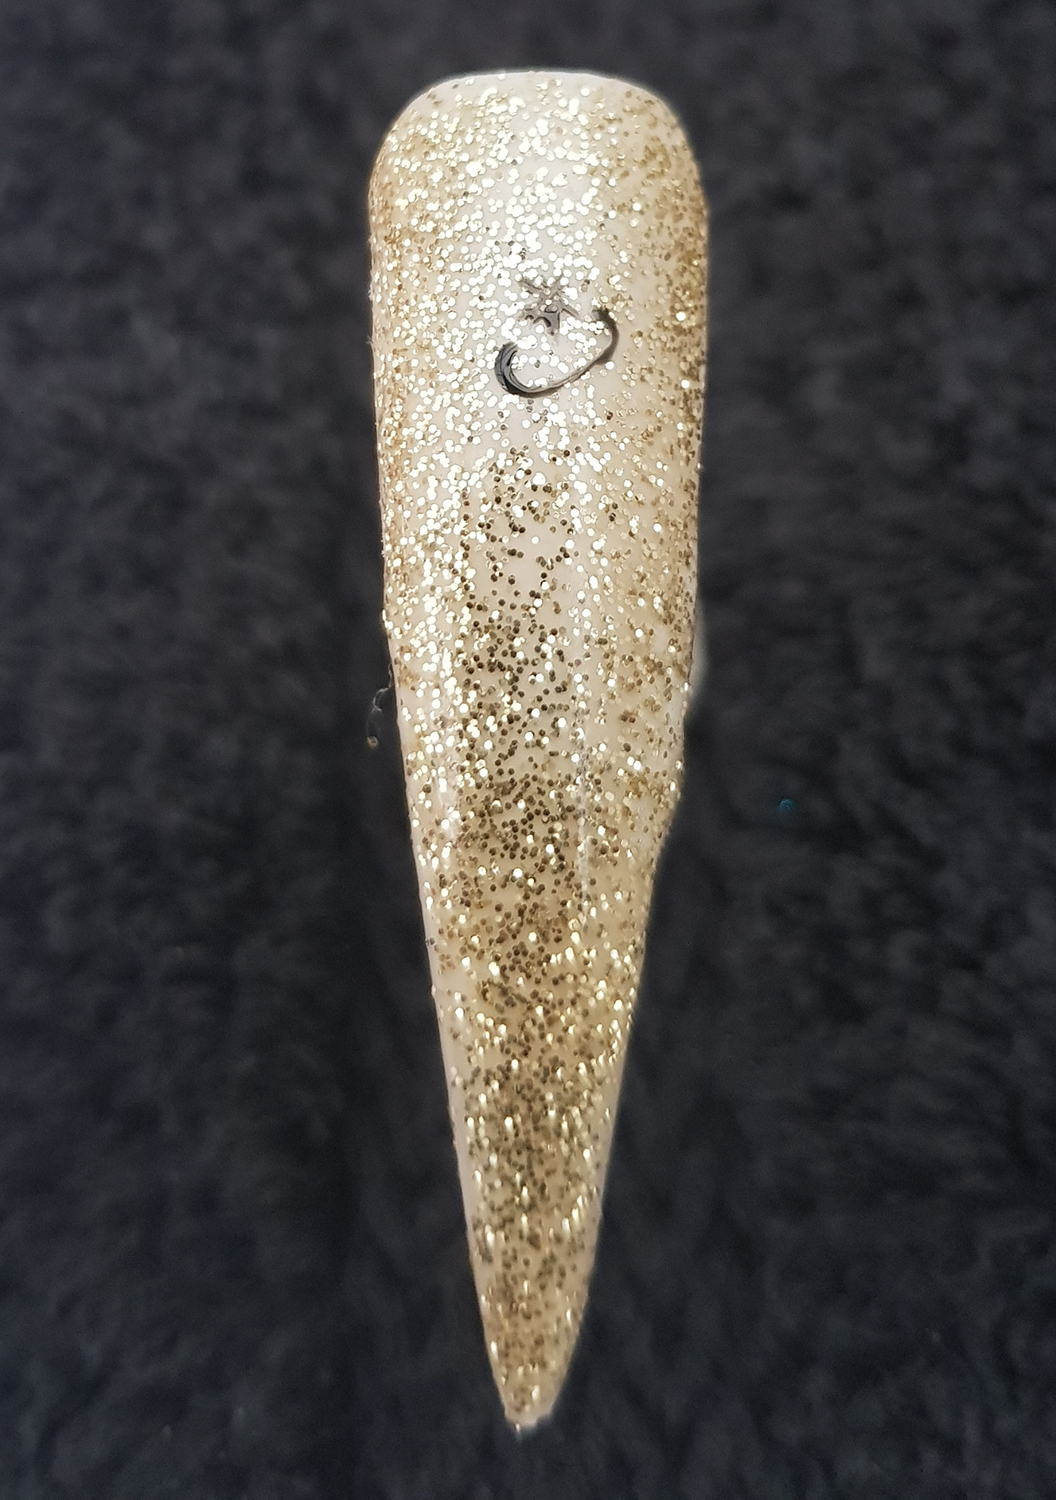 Step 2
Using Artistic Colour Gloss in Swag, paint a star; this will be the top of your Christmas Tree.
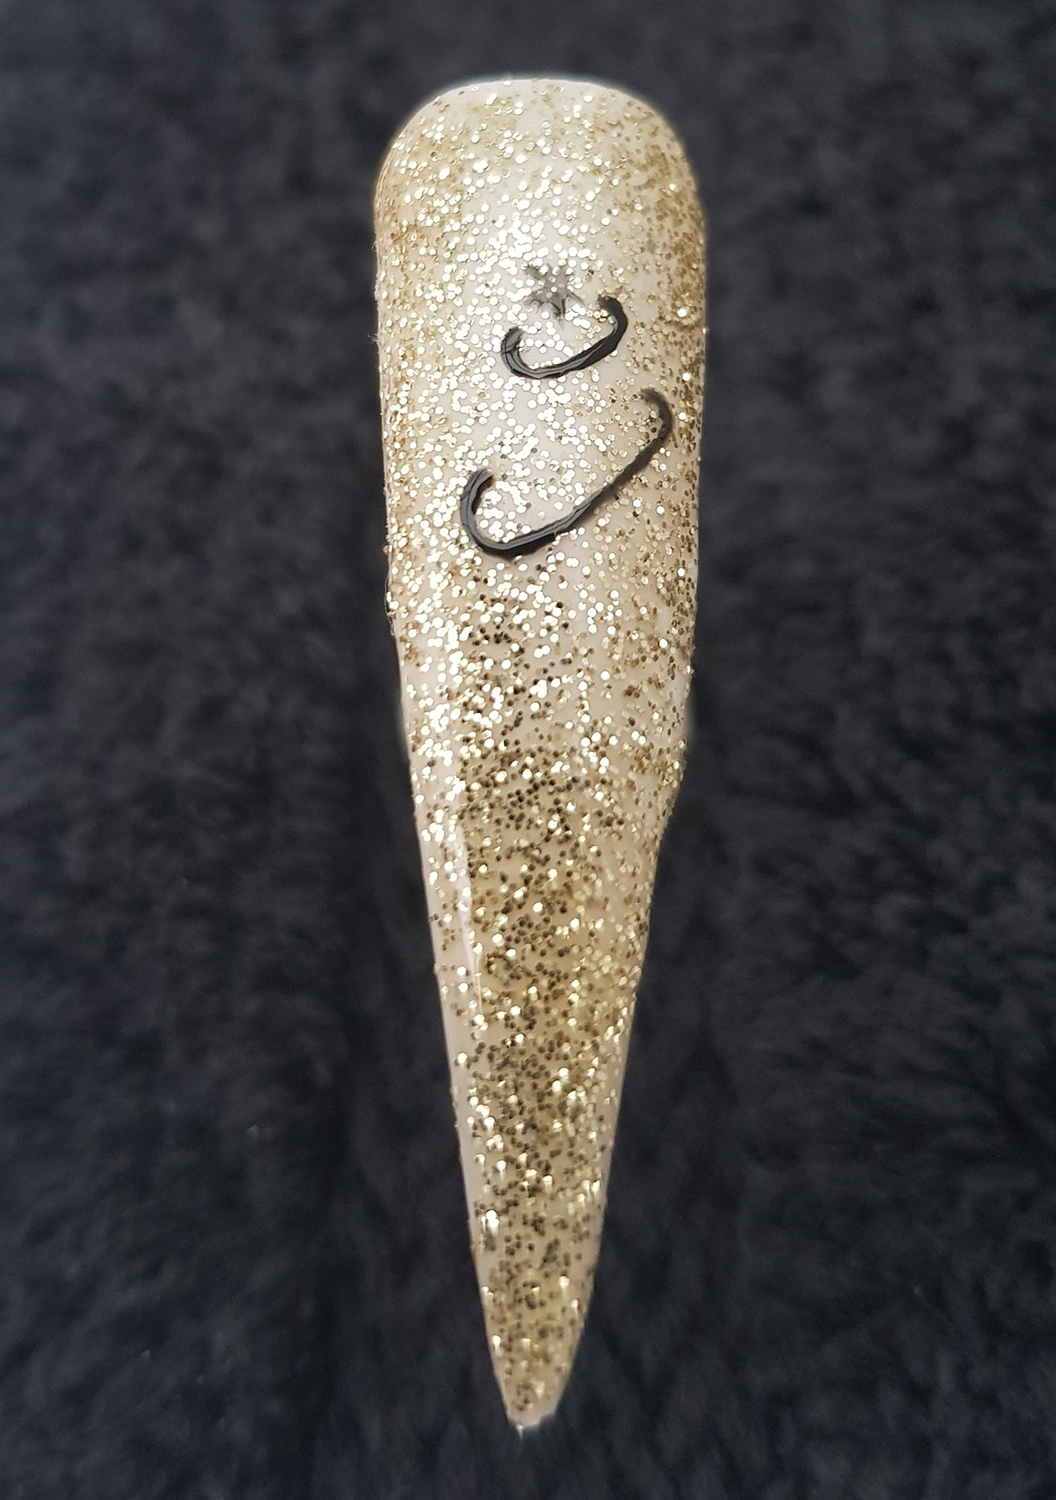 Step 3
Then start painting a swish (like an elongated C on its side) at regular intervals down the nail. Each swish needs to get longer as you work down to create the shape of the Christmas Tree being wider at the bottom and narrower at the top. Cure.
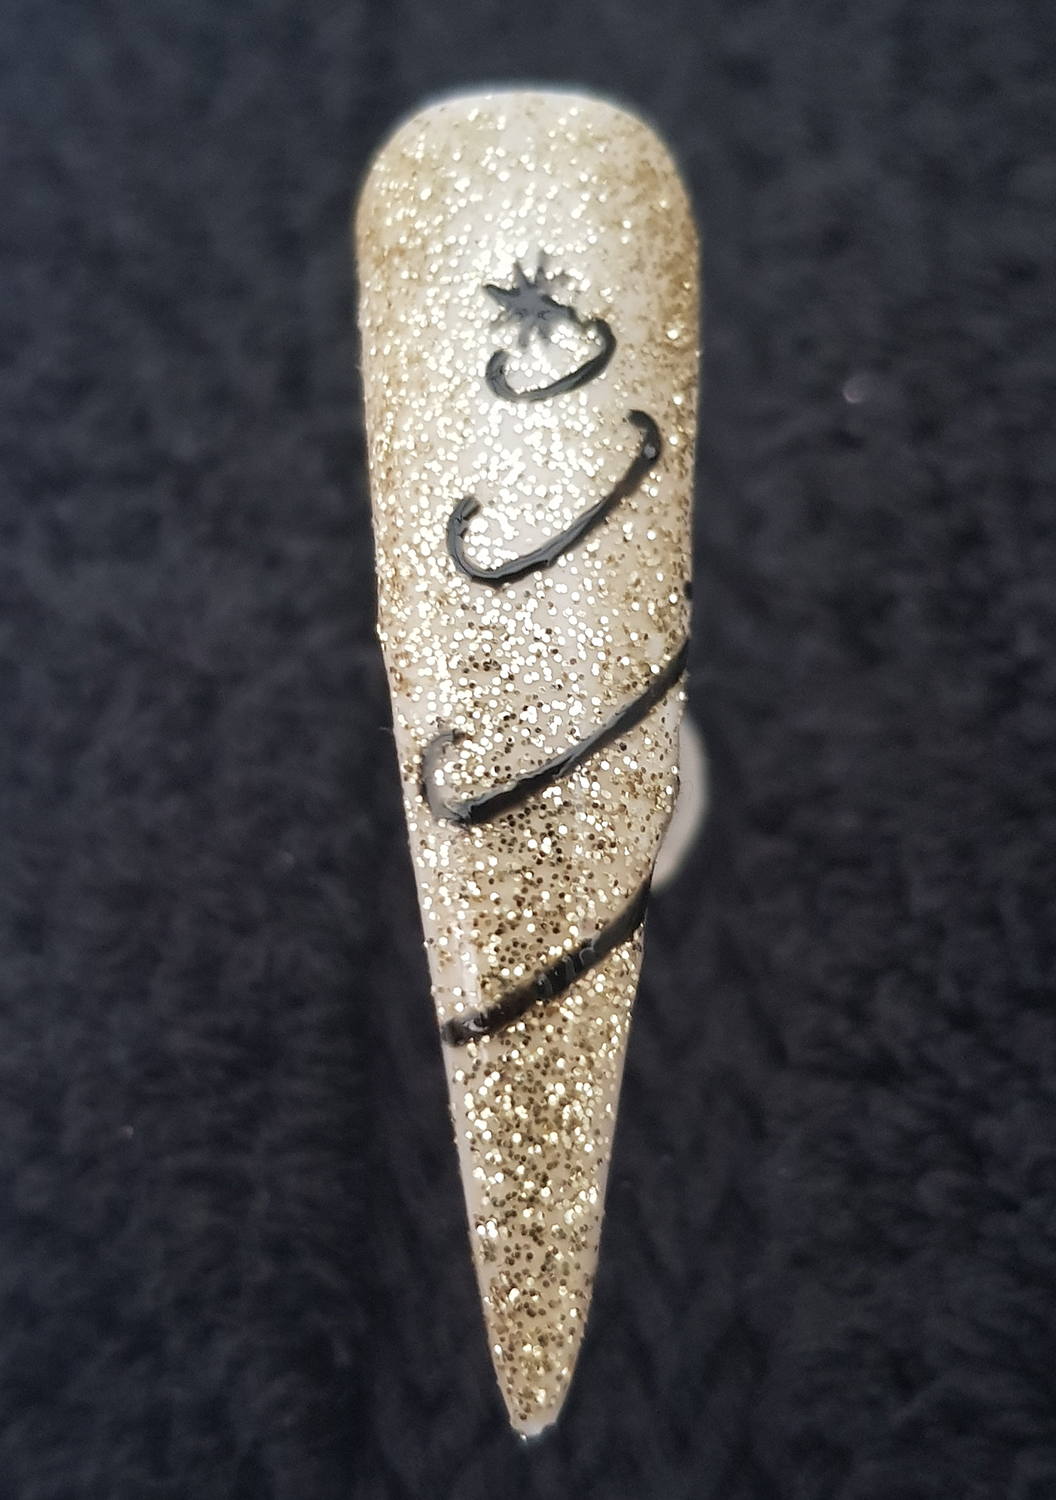 Step 4
With a dotting tool, add various size dots in between each swish. Cure.
At this point you could add extra glitter, diamantes etc.
 Step 5
Seal with a top coat, cure, and remove the inhibition layer.
If you have used jewels or diamantes etc, don't apply your top coat over them, just seal up to and around them to maintain the full impact of their sparkle.
Marie-Louise Coster is a Session Tech, Beauty Therapist, Trainer and Business Consultant, with over 20 years' experience in the industry. All About Mi Beauty & Holistic Training School is ABT-accredited.

-13546.png)
