
How to create the perfect icy blue French tips with Glitterbels
Sponsored Post
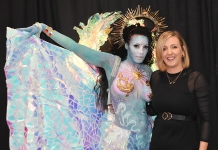
Aimee Link, aka @allnailss._, is an ambassador for Glitterbels and has racked up quite the following for her effortless “it girl” style. Here's a step-by-step guide to how she created this cool-toned French design, perfect for the chilly months ahead.
Step #1: For the base, Aimee used a mixture of Glitterbels Brush on Builder in the shade Cookie Cream and Glitterbels Hema Free Gel Polish in shade Gentle White. This combo creates the perfect milky look. She mixed these two products on a pallet and applied them as normal to a prepped nail, curing for 60 seconds, before going in with her art brush.
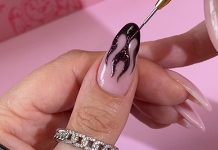
Step #2: Using a gorgeous range of blue shades from Glitterbels Hema Free Gel Collection in shades White, Noble Navy, Sky Scraper, With A Bang and Mystery, Aimee draws thin and wavy lines with her chosen colours. She uses Glitterbels Fine Liner Brush to get clean lines.
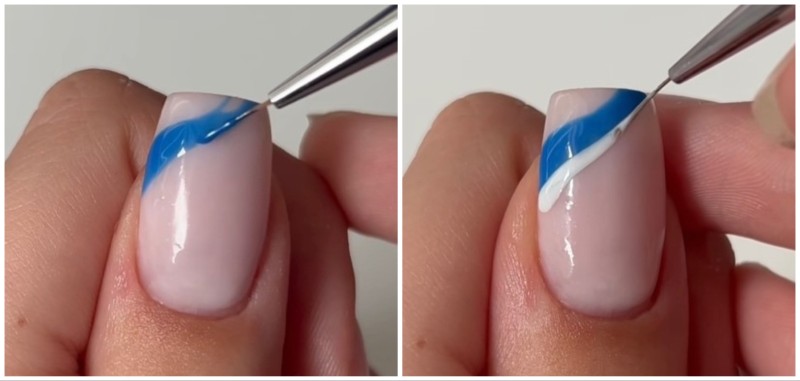
Step #3: Once she has applied a few of her abstract lines around the tip of her nails, the next step in her process is to layer some of the lines on top of each other, creating a criss-cross point in the middle. *Before layering your gels, make sure the bottom layer is cured first.
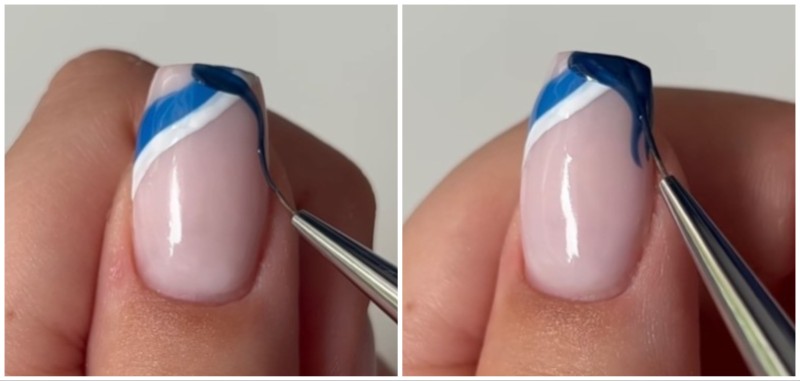
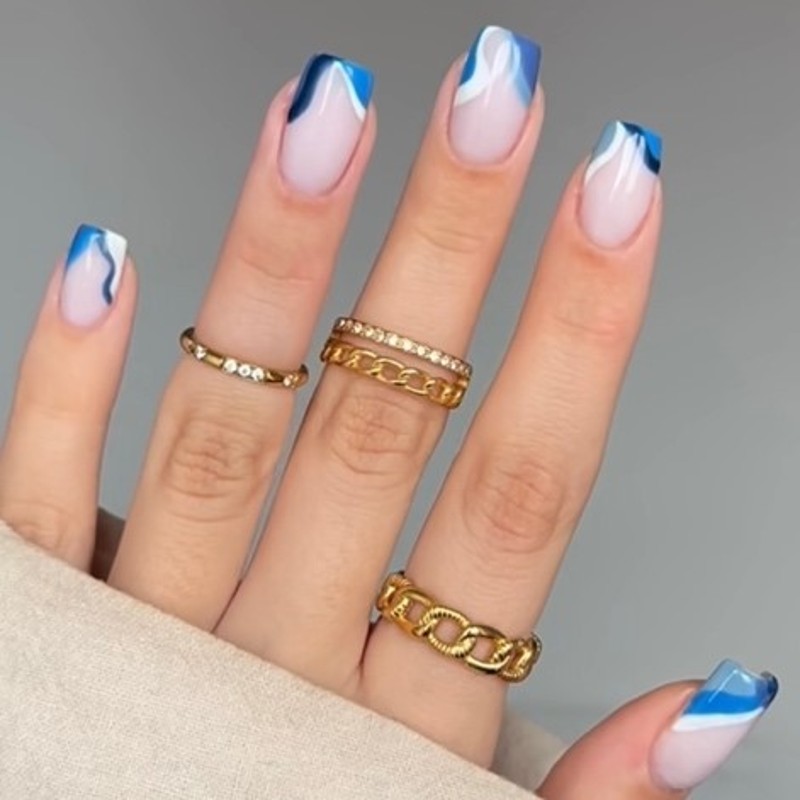
Step #4: Aimee repeated step #3 on all her nails, making sure each one is slightly different from the other, changing things up with colour placement and different shapes to achieve the abstract French tip look.

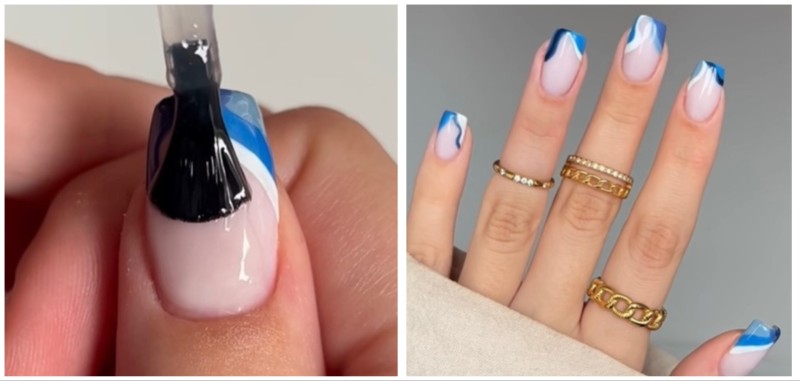
Step #5: When she finished the French tip designs on each nail, Aimee cured her tips for 60 seconds and applied a layer of No Wipe Topcoat, curing again for 60 seconds. Once everything is cured the nails are Instagram-ready!
Glitterbels
*Sponsored Post*


-11752.png)